Viewing and Adding Photographs to an Inspection
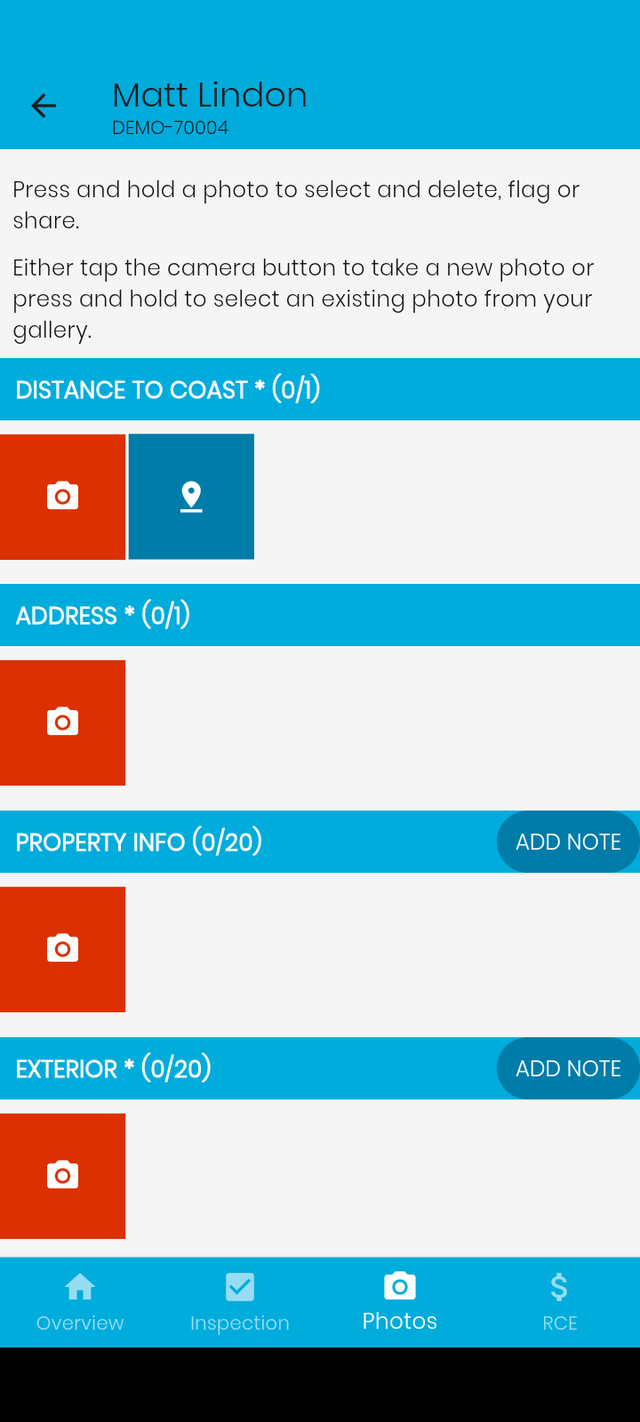
To view, add or delete photographs, go into the inspection and tap on the Photos button in the Tab Bar. This will display the Photos page:

The page is split into sections relating to the property, allowing you to either take a photograph or use a photograph from your camera roll and upload it to the relevant section. Some sections only allow you to add 1 photo, while other sections allow multiple photos. Some sections also allow you to add notes.
Photos using iOS App
Let's take a look at how to use the Photos page when using the iOS App.
Take Photo

Taking a photo is easy, tap the camera button and the app will present a camera page. Simply tap the photo circle button to take the photo. Options to Retake or Use Photo are displayed. Tap 'Use Photo' to add it to the inspection or, if you're not happy with it, tap 'Retake' to return to the camera page and take the photo again.
Use Photo from Camera Roll

If you already have a photo on your phone then tap the Camera Roll button to present your photo collection. Locate the photo you want and tap to add it to the inspection.
Add Notes

Some sections in the Photos page allow you to add notes. Tap the Notes button to open the Notes page and type :
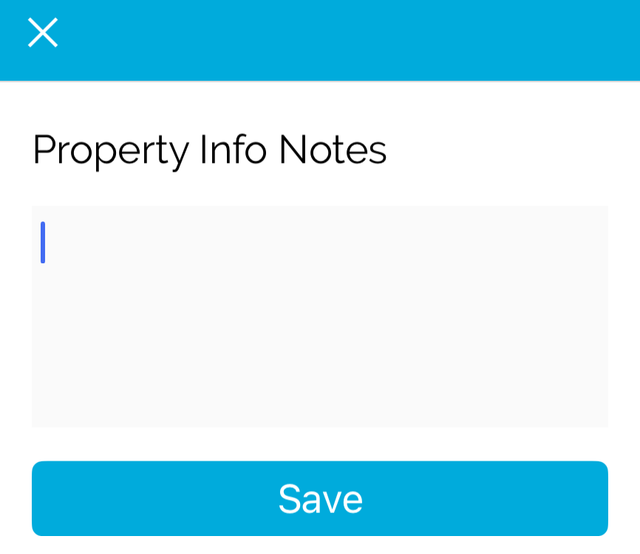
Press Save when you have entered the notes.
Additional Photo Menu
When you long press a photo, a menu will become available:
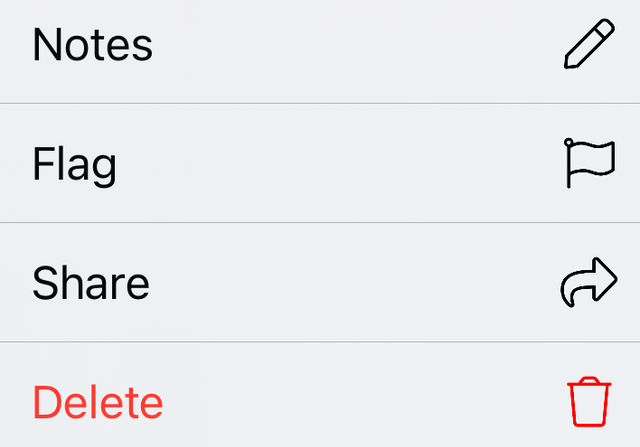
This menu allows you to:
- Add notes to that particular photo - Notes added here are displayed under the photo in the Inspection Report
- Flag the photo - This will flag the photo in red and highlight it as a concern in the Inspection Report
- Share the photo
- Delete the photo - this will remove the photo from the inspection
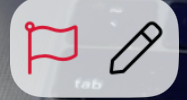
If a photo has notes and/or a flag on it then you will see the relevant icon in the top right corner:
Photos using Android App
Let's take a look at how to use the Photos page when using the Android App.
Take Photo

Taking a photo is easy, tap the camera button and the app will present a camera page. Simply tap the photo circle button to take the photo. Accept the photo to add it to the insepction.
Use Photo from Camera Roll
If you already have a photo on your phone then long press the Camera button to present your photo collection. Locate the photo you want and tap to add it to the inspection.
Add Notes

Some sections in the Photos page allow you to add notes. Tap the Notes button to open the Notes page and type :
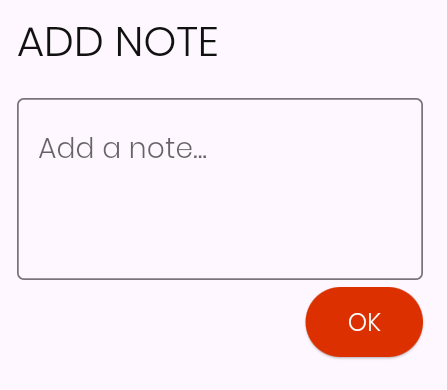
Press OK when you have entered the notes.
Additional Photo Menus
Long Press
When you long press a photo, a menu will become available at the top right corner:

This menu allows you to:
- Share the photo
- Flag the photo - This will flag the photo in red and highlight it as a concern in the Inspection Report
- Delete the photo - this will remove the photo from the inspection
Tap
When you tap a photo, a notes page will open, allowing you to add some notes to that particular picture:

Notes added here are displayed under the photo in the Inspection Report
If a photo has notes and/or a flag on it then you will see the relevant icon in the top right corner:
Distance to Coast
The Android app has a Distance to Coast feature, that allows you to take an imaage within the app.

Press the Distance to Coast button. A map is displayed showing the property location:

Move the map using your fingers so the cross is moved to the nearest coast, a blue line will be drawn in, along with a mileage:
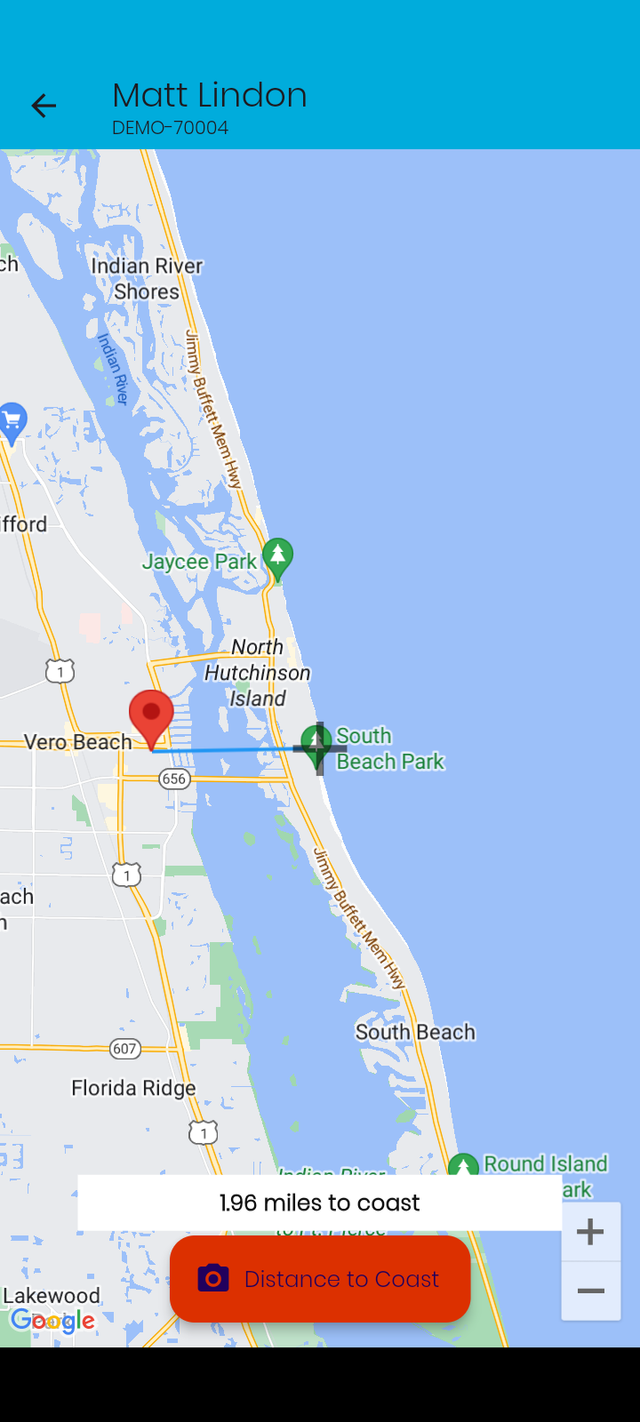
Press the red Distance to Coast button:

The image will be inserted as the Distance to Coast photo.